Part 12: Gurgu Volcano
Now that we've got the airship, getting around the world is going to be much easier. So let's make use of that.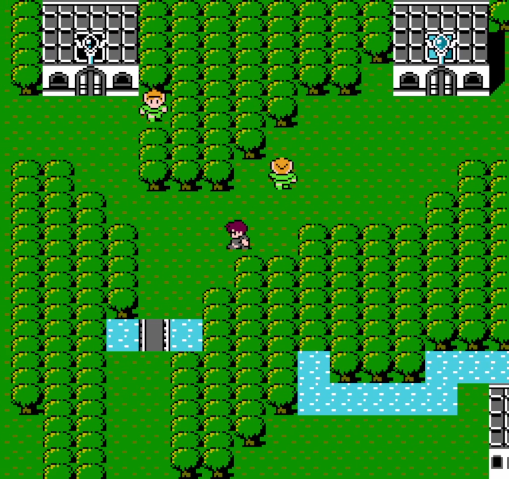
Our first stop is Elfland, where we buy 4th-level spells for Ranger: ICE2, HEL2, and CHRM. Despite our next dungeon being a volcano, ICE2 actually won't be getting any use there.
Before we head for the volcano, though, let's grab one more treasure in an out-of-depth dungeon. This is the Ice Cave, and it's the only dungeon in the game that can only be reached using the airship.
As with the Dark Cave, I won't be going into too much detail about this place at the moment. We're here to get one treasure and get out.
Ices are similar to earths: big bruiser monsters. Unlike earths, ices' attacks can inflict sleep, which makes them more dangerous.
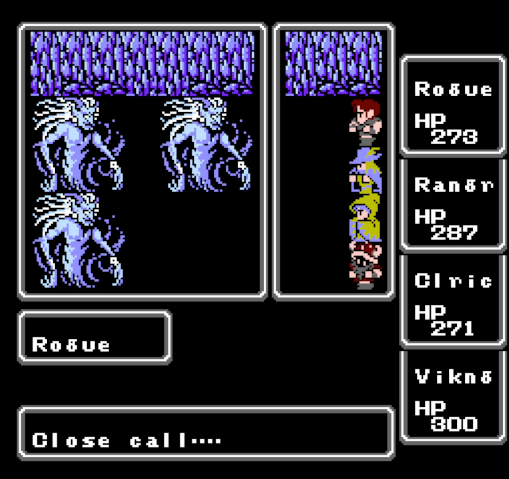
Rogue does her thing.
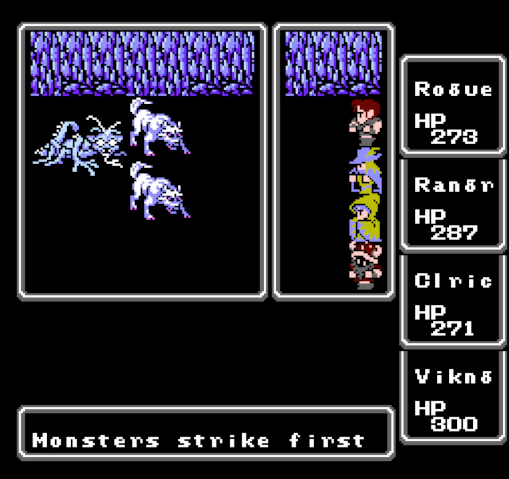
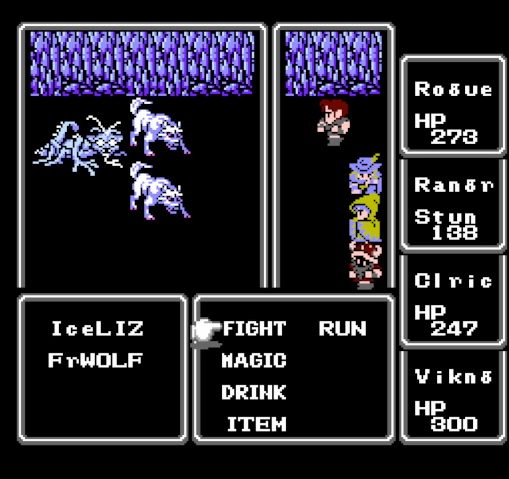
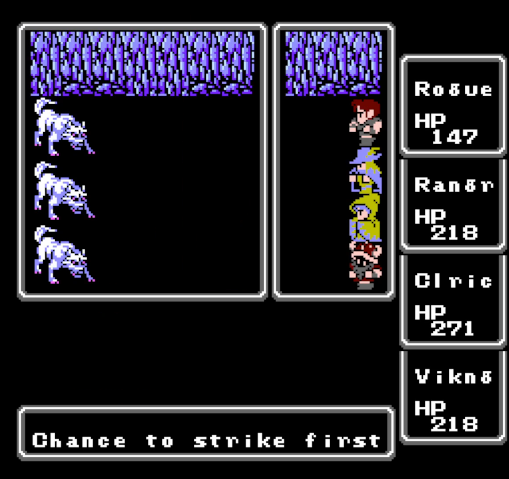
Ice lizards are also bruiser-type monsters, less powerful than ices but with attacks that inflict paralysis instead of sleep. Frost wolves are bastards that, while fragile, have FROST, an ice attack that does pretty vicious damage.
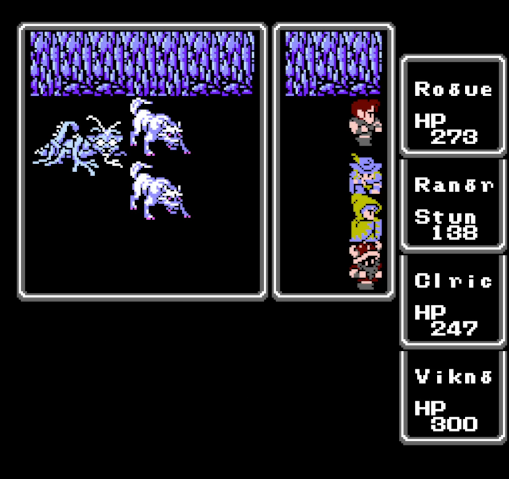
Frost wolves in particular are super dangerous, so we keep running.
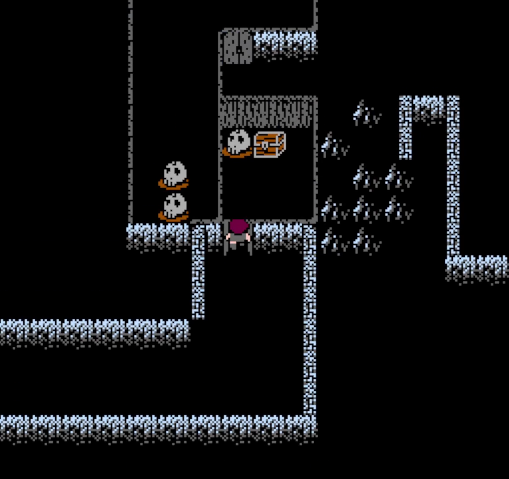
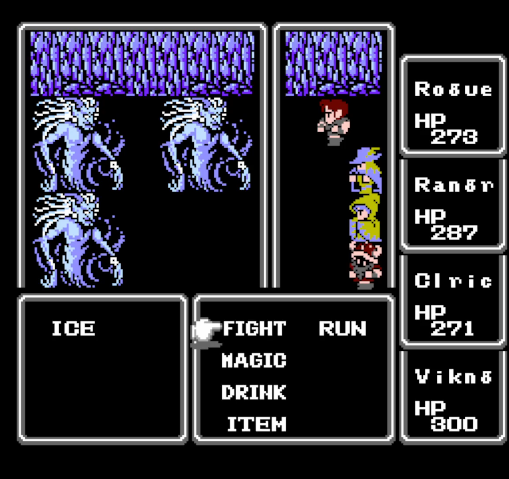
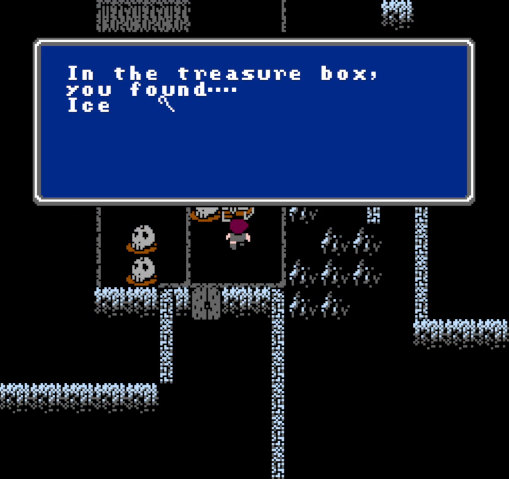
This is what we're here for. But inside the door...
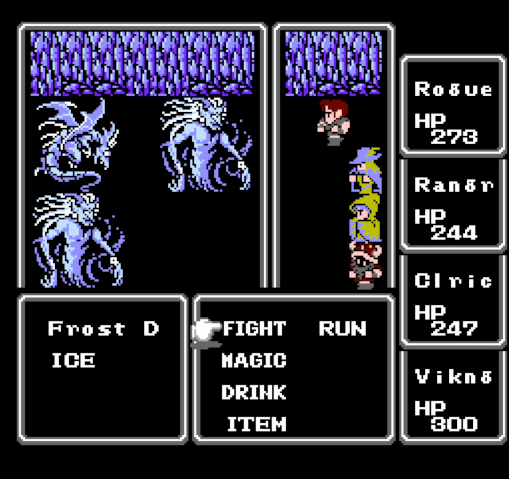
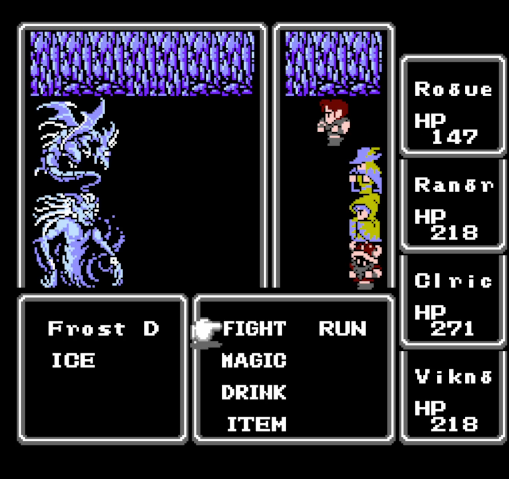
...is a spiked tile. That frost dragon is quite strong, and it has a frost breath attack similar to that of frost wolves.
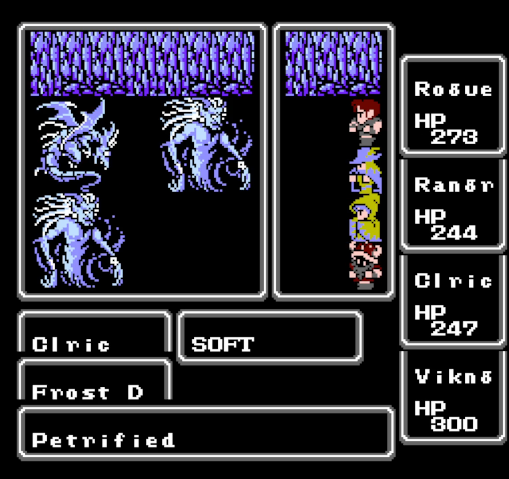
Like many monsters, however, it's quite susceptible to SOFT. Once the dragon is down, the ices are relatively easy pickings.
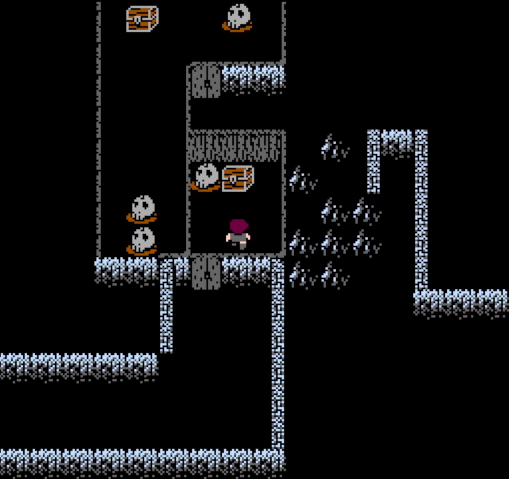
Unfortunately, the chest itself is also guarded. Since we have the first strike, though, we can run away for free.
And here's our prize: the ICE Staff. As you might have guessed, it casts ICE when used in battle, which should be quite handy. Cleric gets it, since her offense is by far the weakest in the party.
Unfortunately, lacking WARP or EXIT, we have to walk out on foot, meaning another dragon fight. SOFT takes care of it, as before.
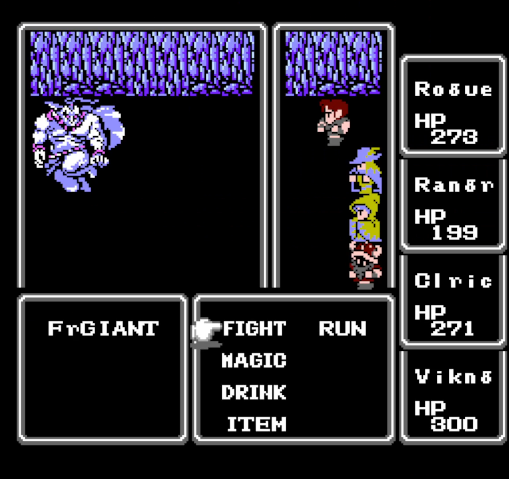
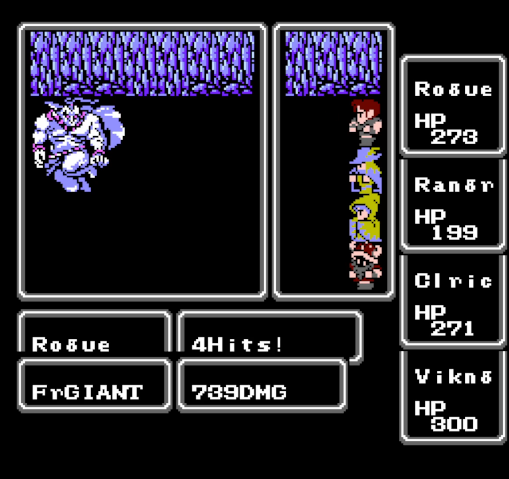
On the way out, we run into a frost giant. They have strong attacks and are quite durable, but with Sting I can actually stand and fight for some extra gold and EXP.
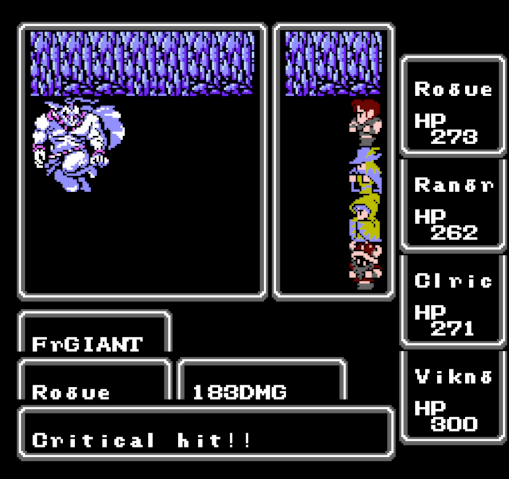
Make no mistake, though: their damage output can be brutal.
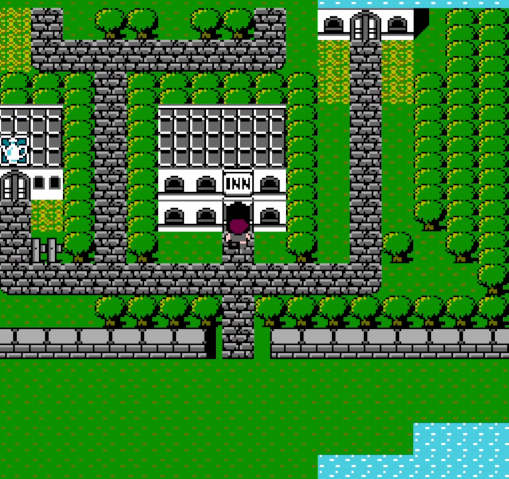
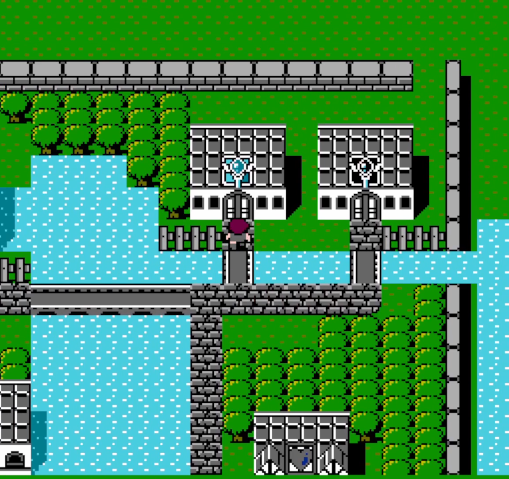
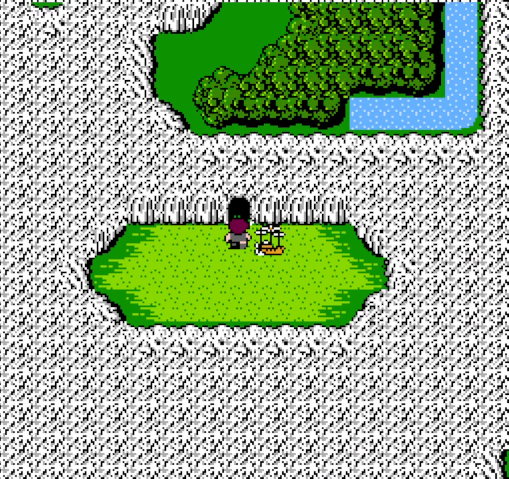
Nothing more attacks us before we get out, and we head back to Crescent Lake to rest up. I realized I didn't get any shots of it last time, so: here you go. It's not much different, apart from the entire eastern area being gone due to the circle of sages being moved to Coneria.

Once we're healed up, it's time to tackle the Gurgu Volcano.

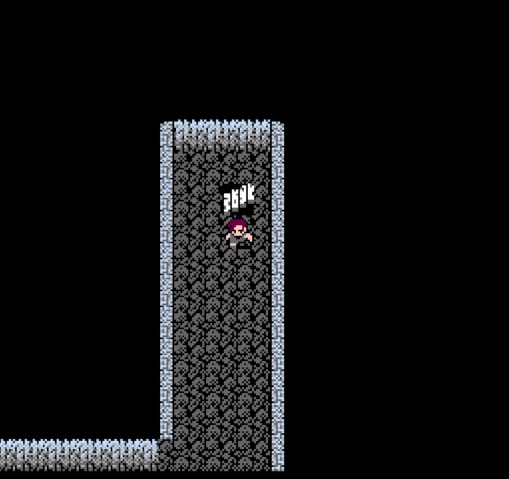
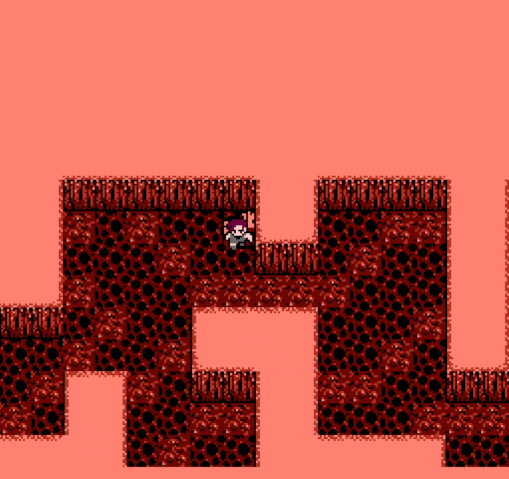
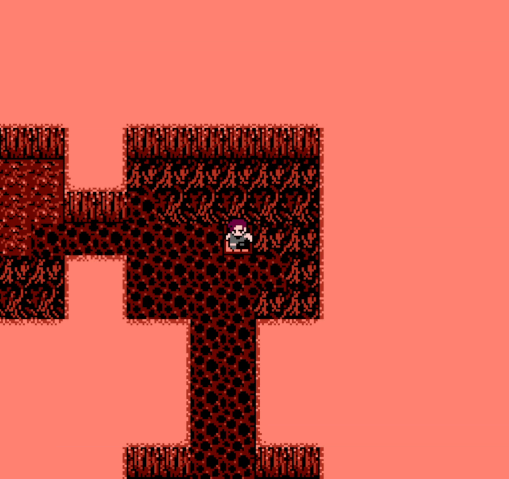
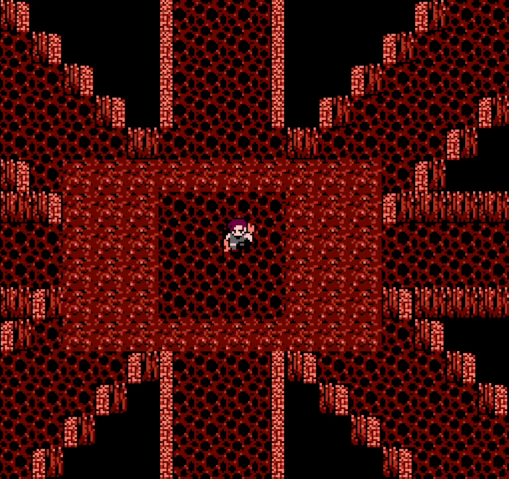
The volcano is entered via the top of its map sprite, and the first floor is the caldera, which I've always though was a neat touch. There are no monsters on this floor, but the lava tiles damage the party when stepped on. However, they don't increase the party's step counter, meaning they don't count toward the number of steps to your next random battle. This actually makes them them preferable for travel.
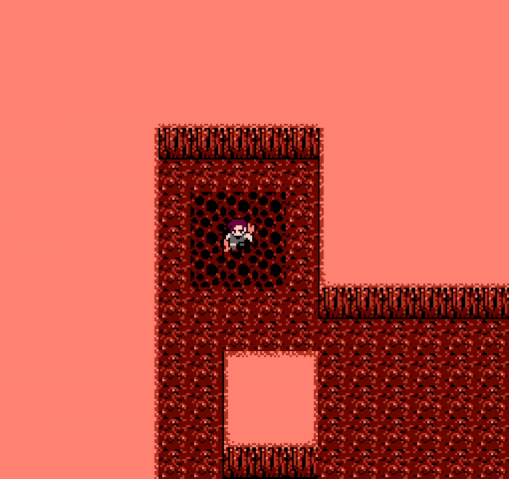
In vanilla, lava tiles deal 1 damage per square, but that's been raised to 2 here. This leads to some occasionally odd behavior. Damage tiles can't hurt a character who's at 1 HP, but they can take one from 2 HP to 0. Note that Rogue isn't actually dead since this isn't combat.
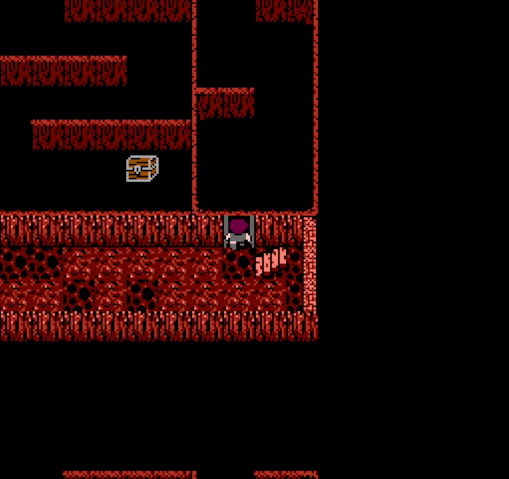
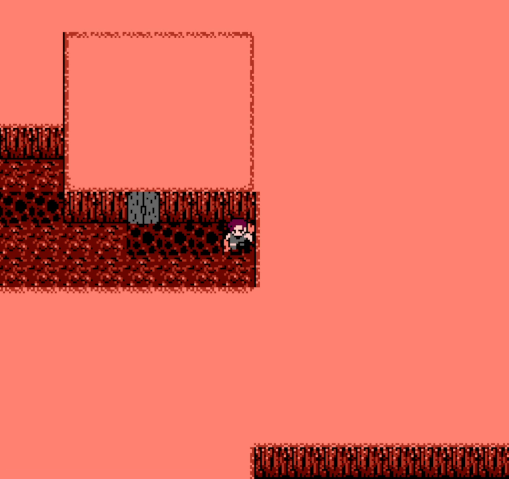
The second floor of the volcano is dominated by a huge room containing a maze of passages. The hallway to the south can be traversed directly to the stairs down to floor 3, making return trips less of a hassle.
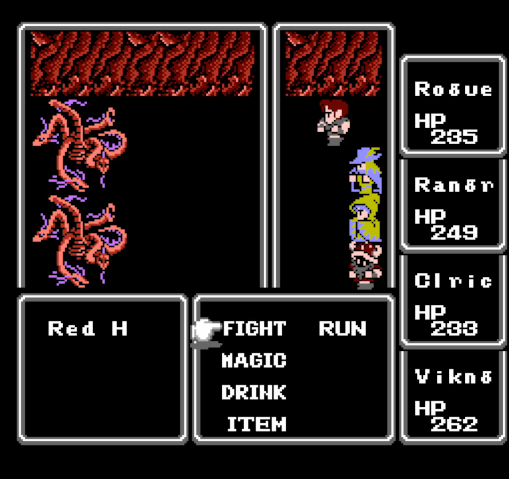
Red hydras have multiple attacks due to their many heads, but don't hit too hard. I believe they also have a fire breath attack, but I didn't see it this run.
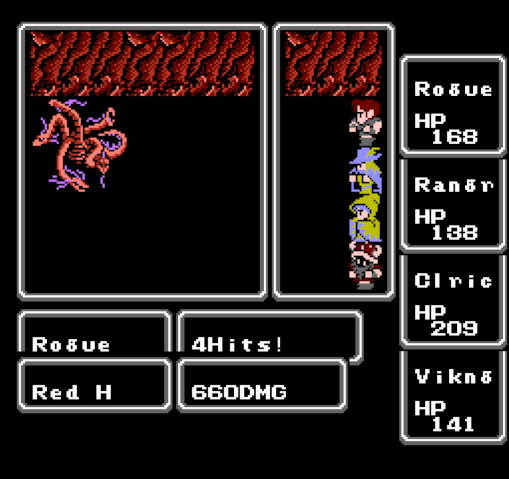
They also count as dragons, which is handy since Sting has a damage bonus against those too. (It would be pretty strange if it didn't.)
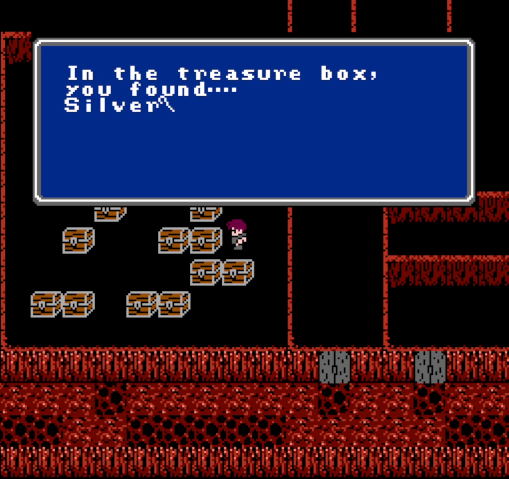
Fires are more of the same: basic attackers with high power but little else. The ICE staff does extra damage to them, though physical attacks still do more. They show up a lot in this dungeon guarding treasure chests. This first run-in with them took me to level 13.
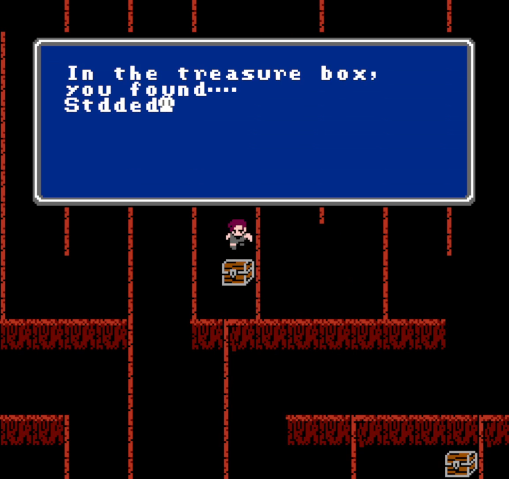
Finding weapons and armor, even stuff we can't use, is still great. This stuff is pricey, meaning it sells for a whole lot of money.
Another spiked tile protects a less impressive treasure.
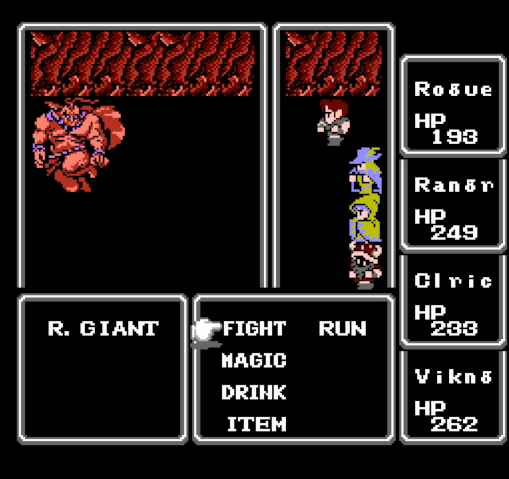
Red giants are more of the same: high HP, high power, nothing special.
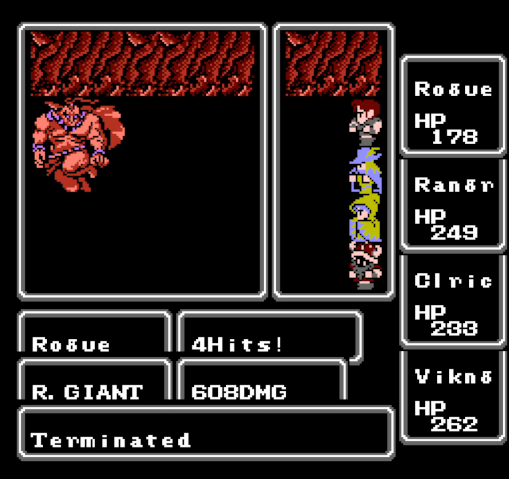
Rogue lays waste to them.
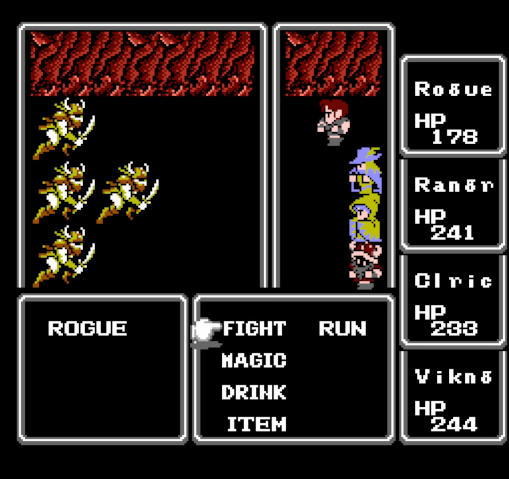
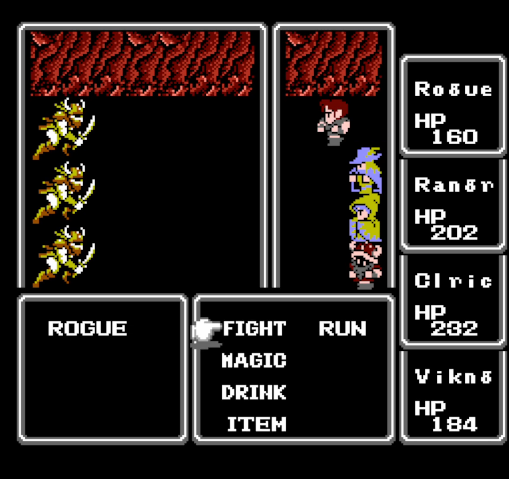
This is where the player is supposed to first encounter enemy rogues. They frequently ambush the party, but they don't deal much damage, so they're not terribly dangerous.
They drop huge amounts of GP, though, so they're well worth fighting.
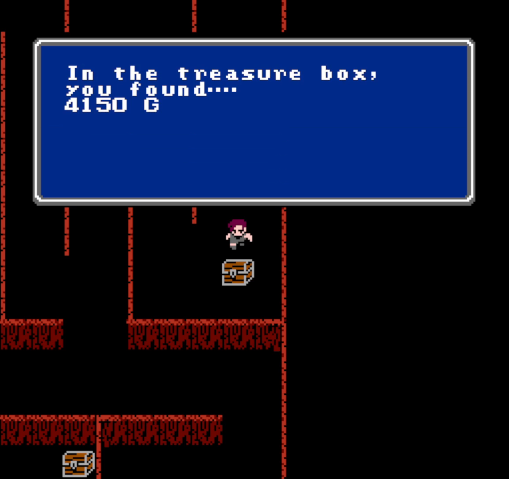
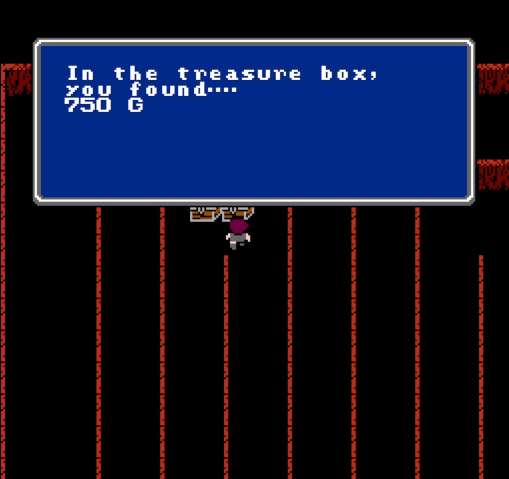
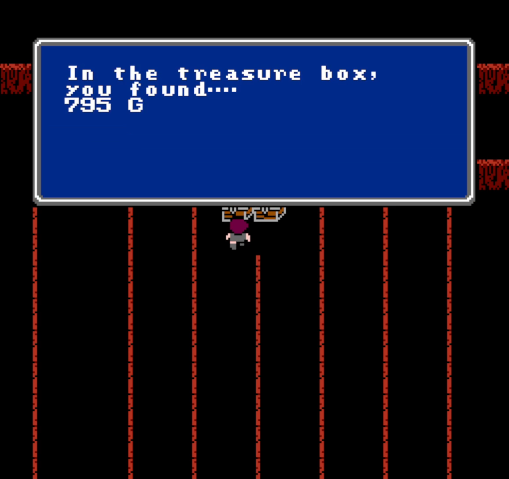
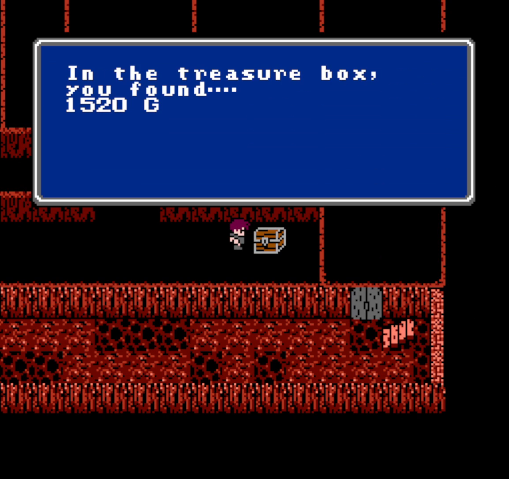
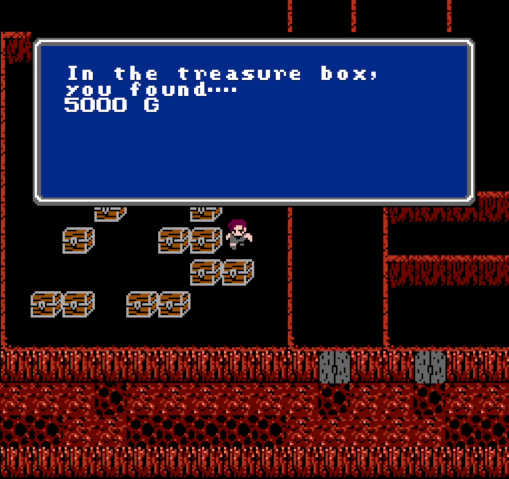
More treasures hidden in the maze. There's nothing special here, but money is money.
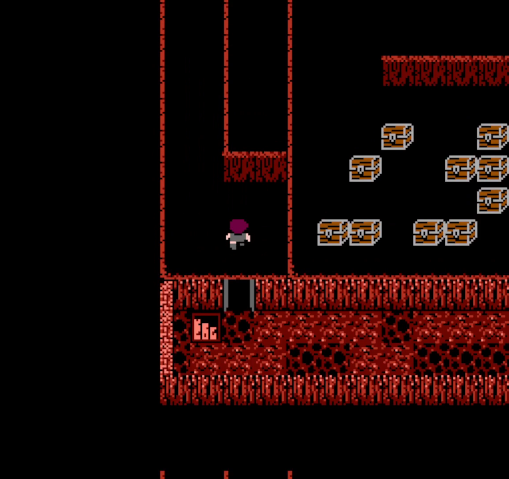
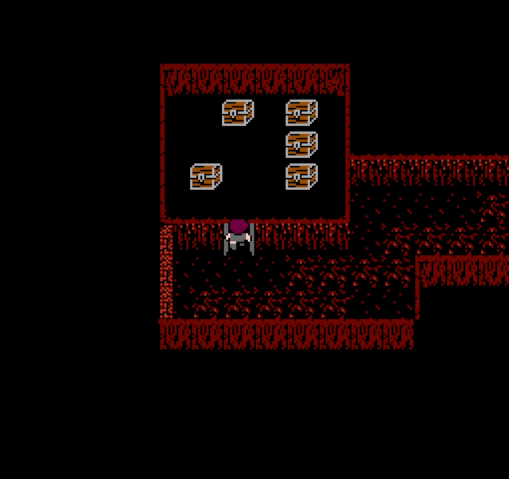
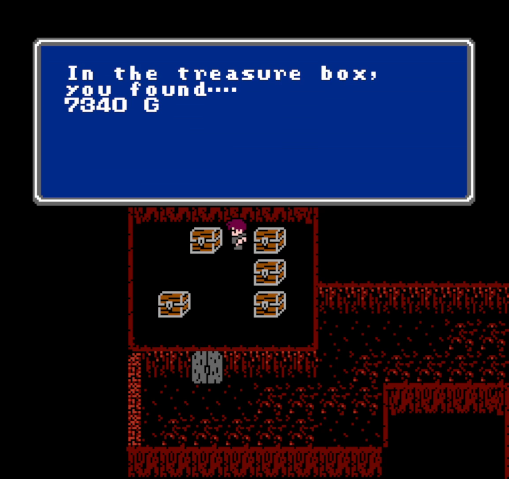
On the far west side of the hallway is a door leading to a separate area of the maze, which contains a room full of treasure chests.
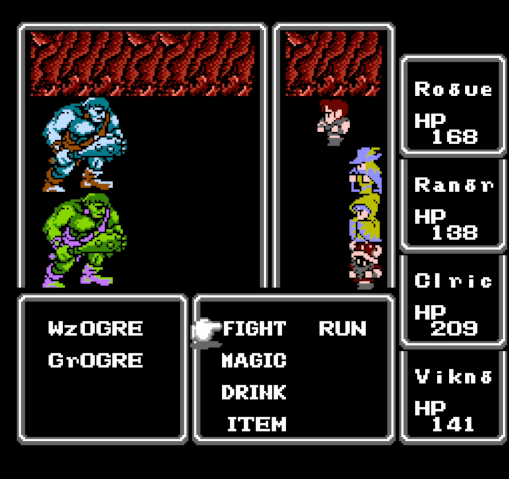

Wizard ogres can be pretty nasty if you let them. Their spell routine starts with IVS2 and eventually transitions into damaging magic. Unfortunately for them, ogres count as giants, so Rogue is able to wipe them out effortlessly.
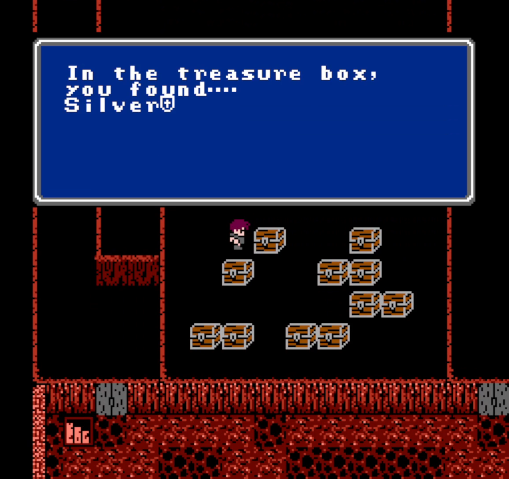
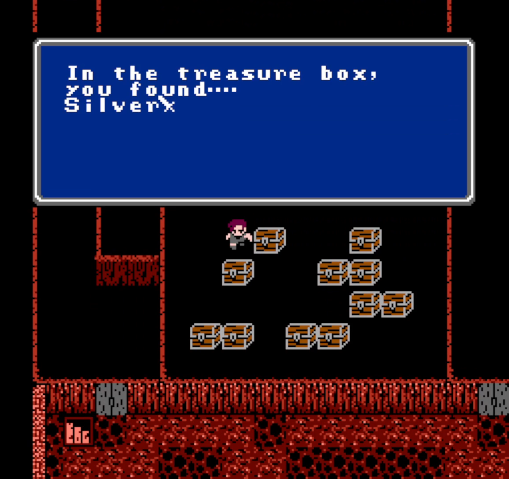
This room has some really good stuff. The rest of the chests are consumables, which I didn't bother screenshotting.
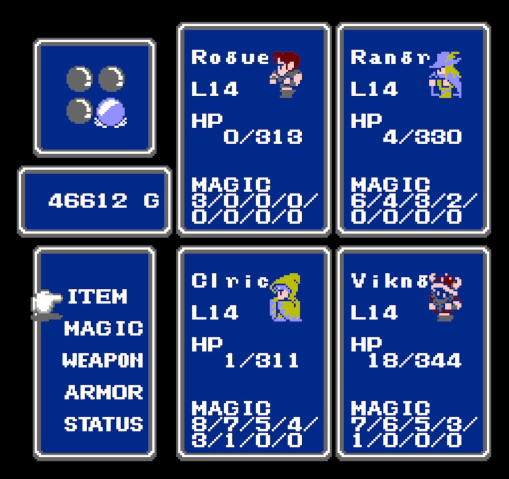
With this floor looted, we head back out to rest up. I noticed that the party was pretty close to leveling, so I took some time to fight outside Crescent Lake and got us to level 14.
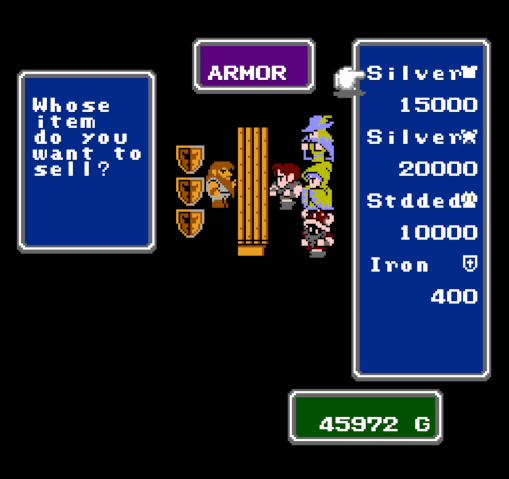
I wasn't kidding when I said this stuff sells for a lot of cash. Even though the GP shown is the purchase price, and it sells for half that, the silver plate is still worth 10,000 GP!

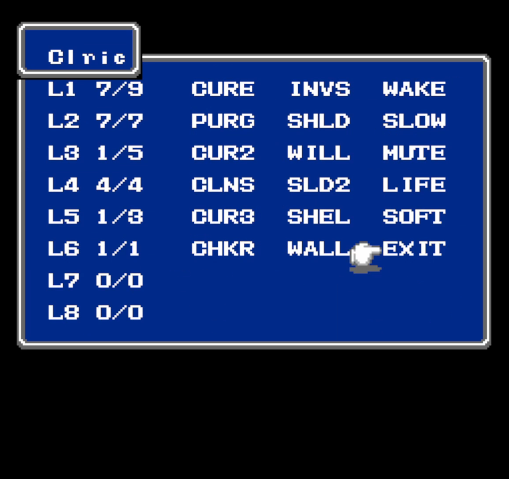
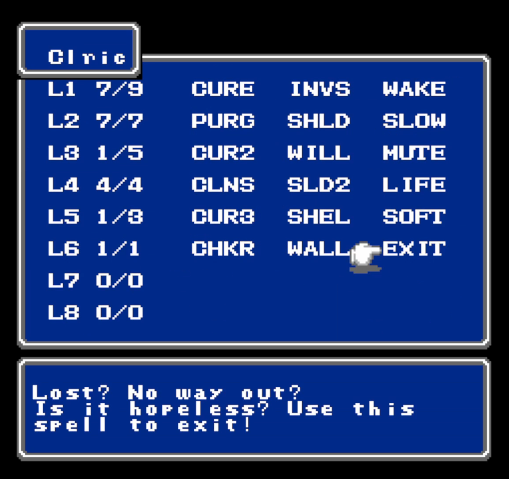
You know what level 14 means? 6th-level spells for Cleric. We're flush with cash, so she gets all three spells she can cast: CHKR, WALL, and EXIT. CHKR may never actually get used in the whole game, but that's okay: WALL and EXIT are both excellent.
Floor 3 is a twisty hallway with ribbons of lava tile. There's no treasure here, and I don't think I've ever seen any monsters, either.
Floor 4 is a huge open room dominated by lava. A few of the "islands" are surrounded by regular floors, which are worth using since they don't have encounters. No treasures here either.
Floor 5 is a mazelike passageway. Still no treasure.
Floor 6 is a set of lava-filled hallways with rooms containing actual treasure.

The first room contains a pack of rogues guarding their loot, which is a fun detail.
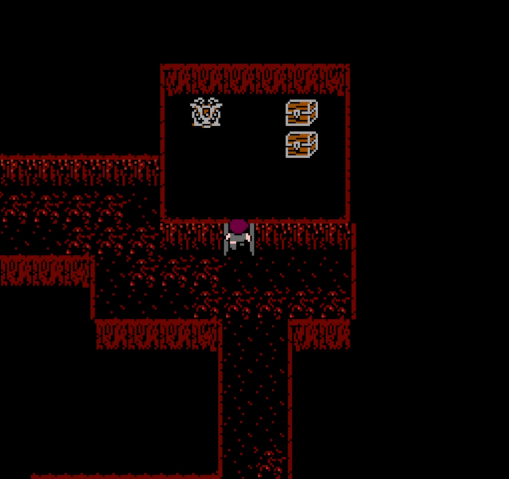
This room looks enticing, though it's mostly consumables. It does have one interesting feature, though: the space between the two northmost chests.
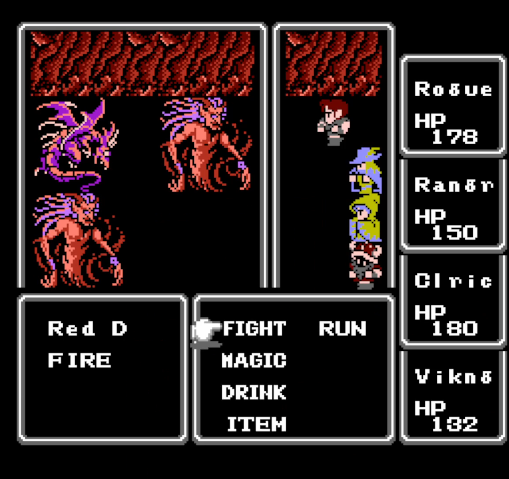
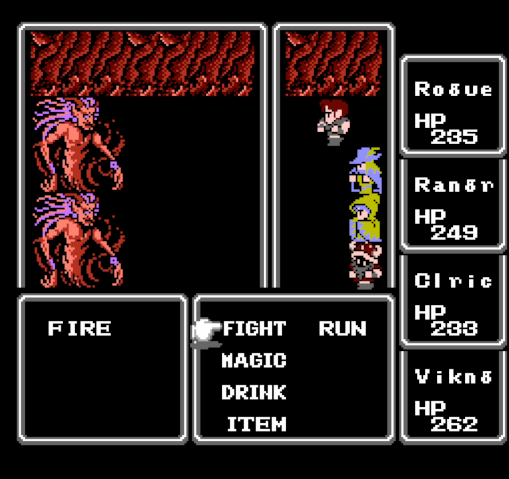
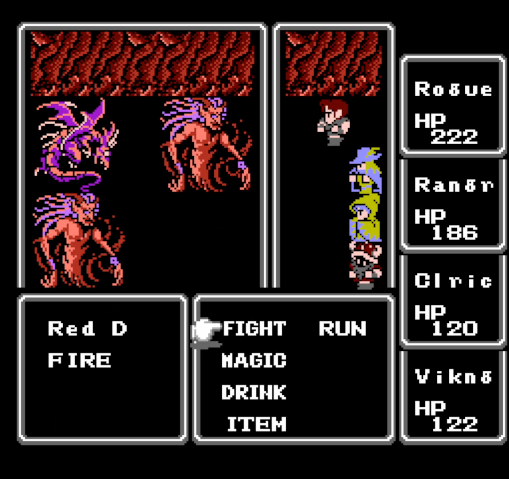
It's the fiery mirror to the battle in the Ice Cave. Red dragons are strong and have an attack called INFERNO which deals fire damage to the entire party.

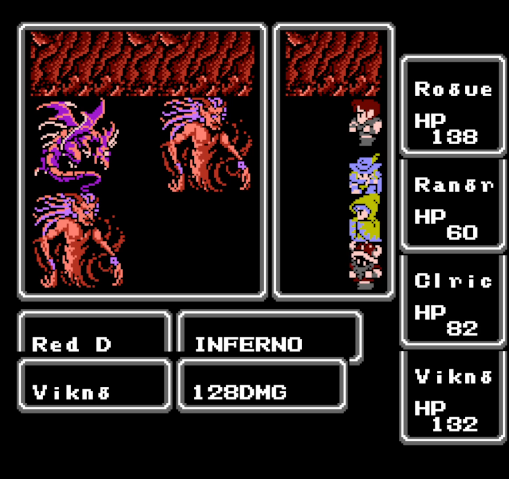
You may have forgotten, but way back at the class selection post I mentioned that Rogue has the highest magic resistance in the game. It's no joke!
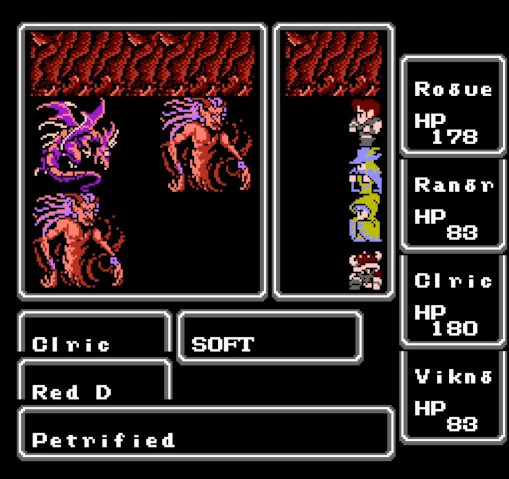
Red dragons are, like their icy cousins, susceptible to SOFT.
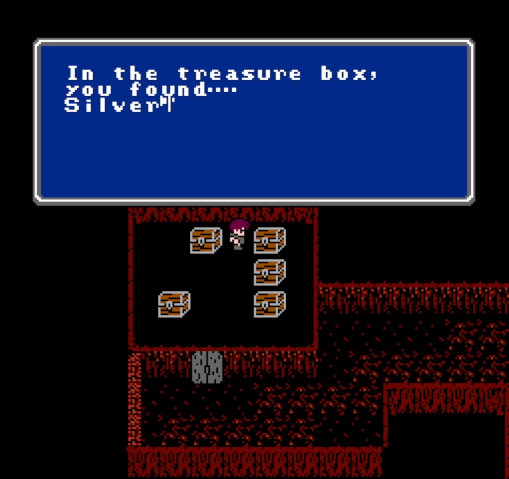
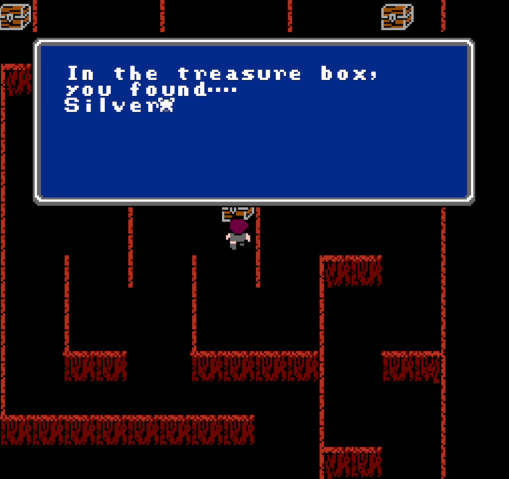
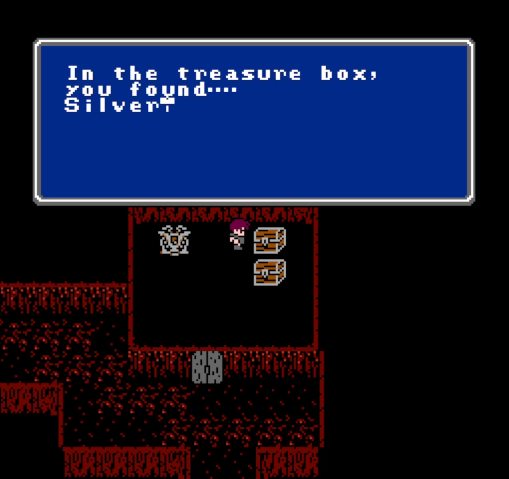
The prize for winning is well worth it.
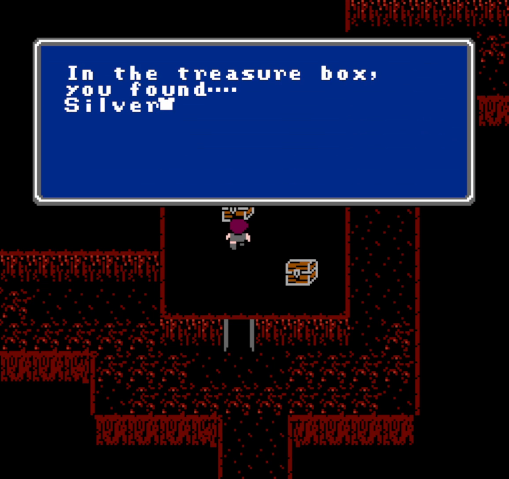
More treasures on this floor.
When reviewing the footage I took for this update, I noticed that I made a rather critical mistake: while swapping armor around to equip this silver mail, I inadvertently unequipped the mail Rogue already had on. So for the rest of this update, Rogue was wearing absolutely no armor. Don't make this mistake.
This floor contains the dungeon's teleporter.
Of course, the nearby chests are protected by another dragon, but it's no real trouble. The prize is less enticing, though.
Now, I could have gotten out using the teleporter, but it's guarded by another spiked tile. So why not just use EXIT?
After resting up one last time, we make our way back into the volcano and descend to floor 7, which is the bottom. This floor has eight branches containing rooms, though only three are relevant.

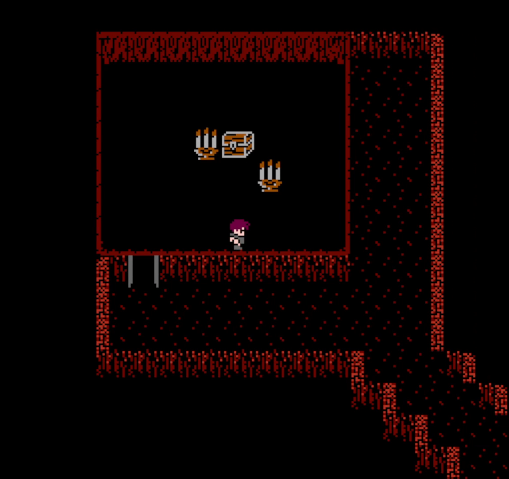
To the northeast is this important-looking room.

Of course the chest is guarded.
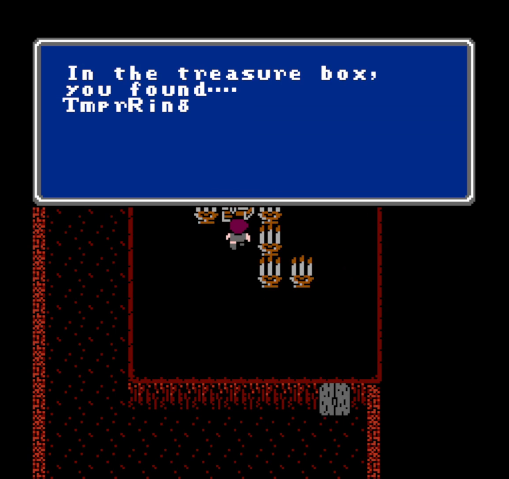
The treasure is worth it, though. The TMPR ring casts TMPR on the user (and only the user). It's not huge, but it can be quite helpful for monks and parties without access to the spell. Viking takes it for now.
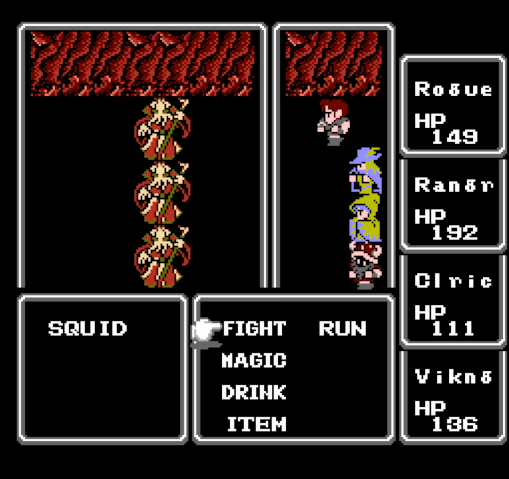
We encounter squids for the first time on this floor. As members of the pisco family, they can't be escaped. Fortunately, they're not dangerous: they get multiple attacks, but don't hit hard and don't inflict conditions.
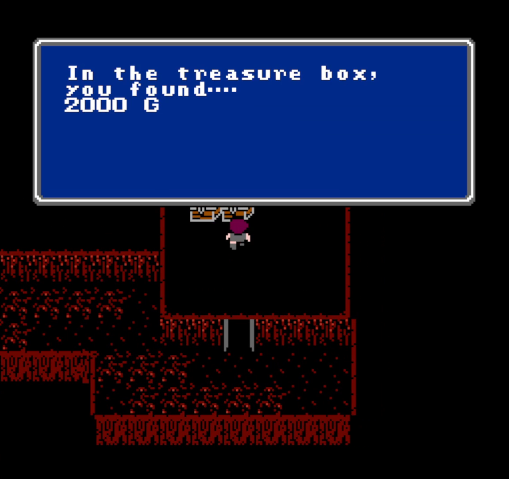
To the northwest is another important-looking chest.

Surprisingly, it's not guarded. More money is always nice, especially in amounts this big.
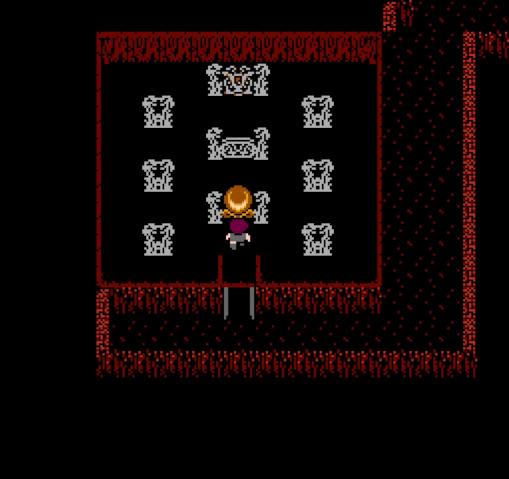
Finally, to the southwest, we have the boss room.
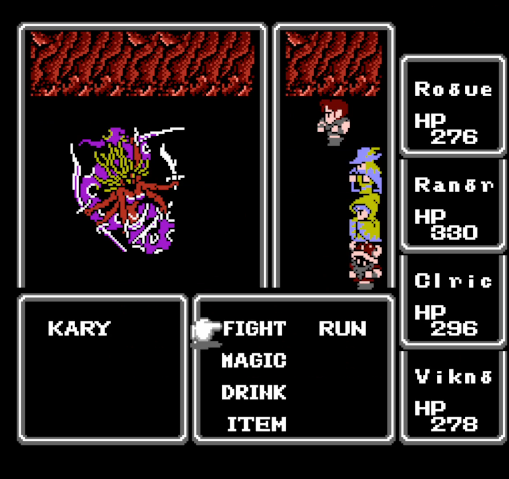
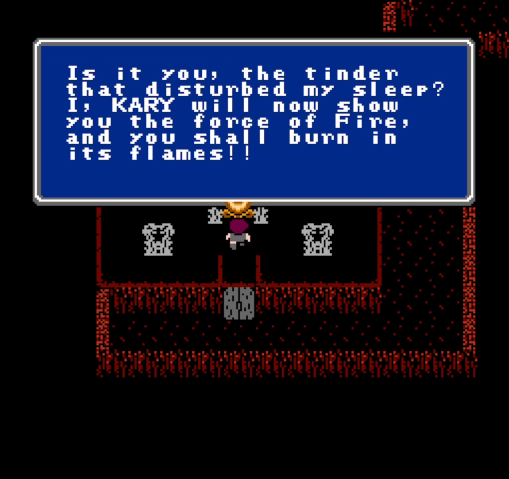
Kary (which is likely a mistranslation of Kali) talks a big game, and she can be a tough fight. In vanilla, she's weak to paralysis, but even if that were true here, we don't have a way to inflict that.
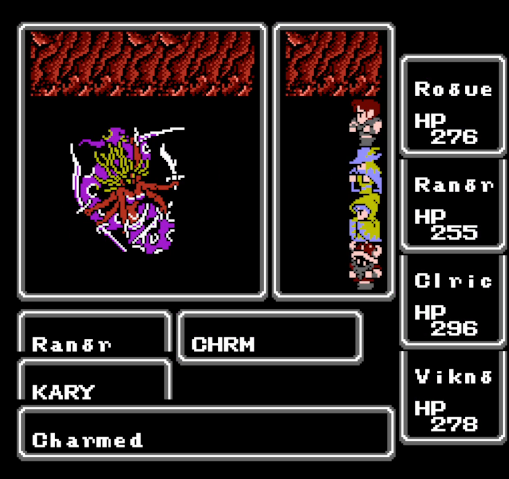
We'll have to use CHRM instead.
 I want to point that we just neutralized a midgame boss with a 3rd-level spell. CHRM is busted.
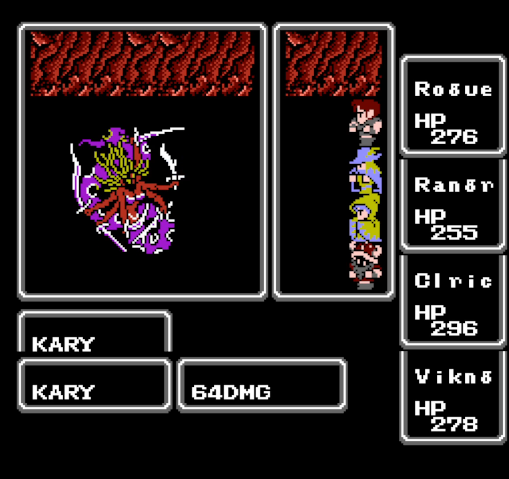
Fun fact: due to a coding quirk, charmed monsters actually cast FIRE instead of attacking. This means that they never score multiple hits, never proc status ailments, and Kary's fire resistance means she takes very little damage. Still, she's not hitting us.
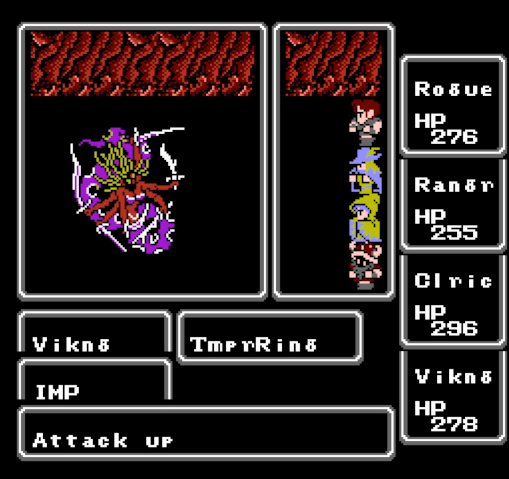
Another engine quirk: using the TMPR Ring causes it to display an imp as the target. It still seems to work properly, though.
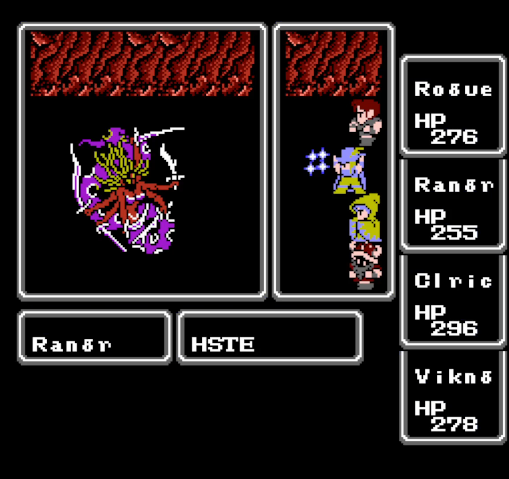
Anyway, let's toss HSTE on Rogue and double his damage output.
Aw yeah, that's the stuff.
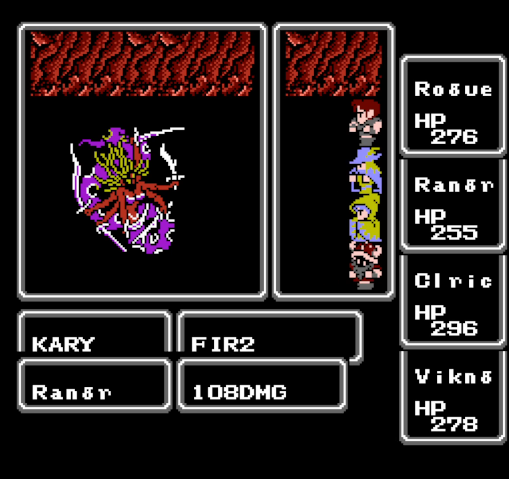
Kary eventually shakes off CHRM and throws some FIR2 at us. We had WALL up, so the damage wasn't bad, but it can be deadly without defensive magic. I still didn't care for it though, so I hit her with another shot of CHRM.
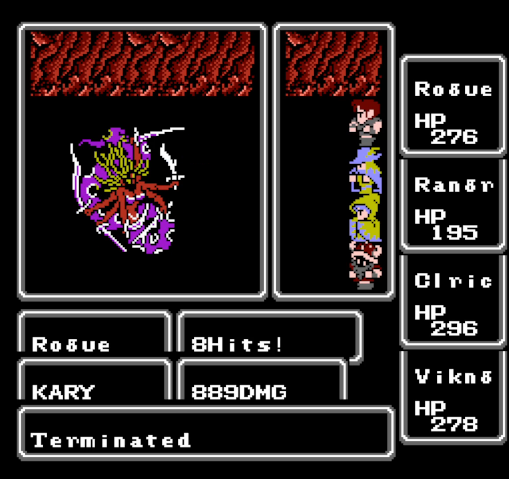
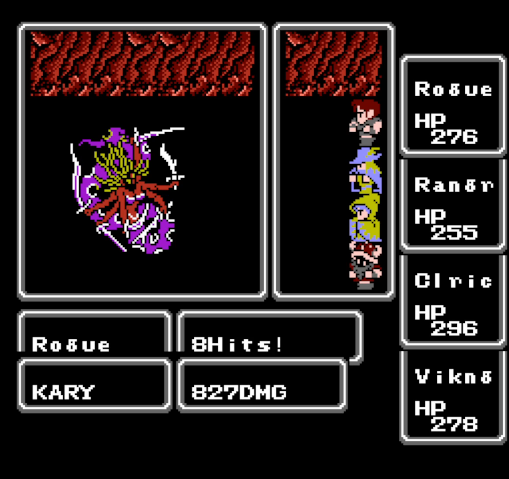
Unsurprisingly, Rogue gets the kill.
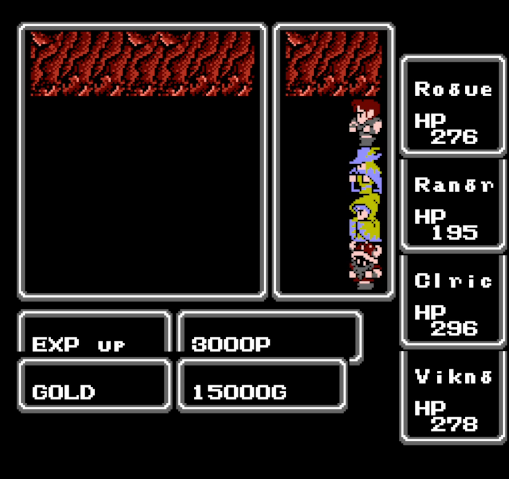
Like Lich, Kary drops a whole mess of GP and EXP. This is enough to get our team to level 15.
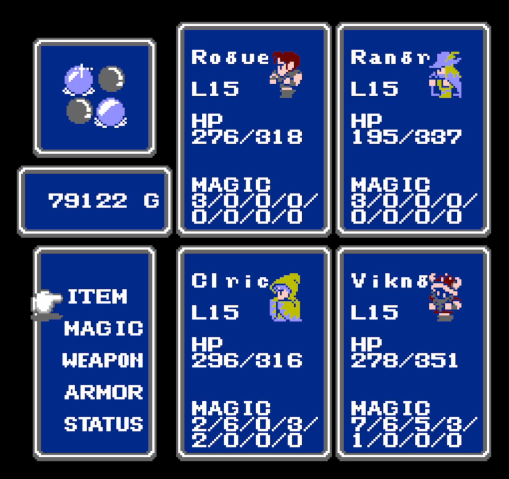
Two orbs down, two to go.